Prototype ChatGPT Apps in Minutes
tl;dr - Promptato is a simple setup to quickly showcase some ChatGPT use-cases for the prompt-lazy folks:
- Stack: Next.js, Tailwind, OpenAI API
- Higher order function maps input definition to prompt definition
I often see that non-tech people are not aware of what tools like ChatGPT can be used for. To quickly showcase some use-cases to friends and family, I built Promptato to easily map user input to prompts and present the results.
Getting started
Essentially, Promptato consists of a higher order function which returns a React component and an API route. Both parts are part of a Next.js project as the underlying app. To get started clone the repo
# ssh
git clone git@github.com:gcascio/promptato.git
# https
git clone https://github.com/gcascio/promptato.git
On first glance there might be a lot going on in the repo but for now we will only focus on the two files src/app/promptato.ts
and src/app/page.ts.
To start the application install the required dependencies
pnpm install
create a env.local file (see env.example) and run
pnpm dev
You can then access the application under http://localhost:3000.
Defining the input-prompt mapping
In the file src/app/promptato.ts you will see a single exported value Promptato which is a React component
returned by createPromptato. The higher order function (a function which returns a function) createPromptato is
where all the magic happens. It expects two arguments: an object defining the required inputs and an array defining the
prompts. The clue here is that all values defined in the input definition are available in the in the prompt definition
in a type safe fashion:
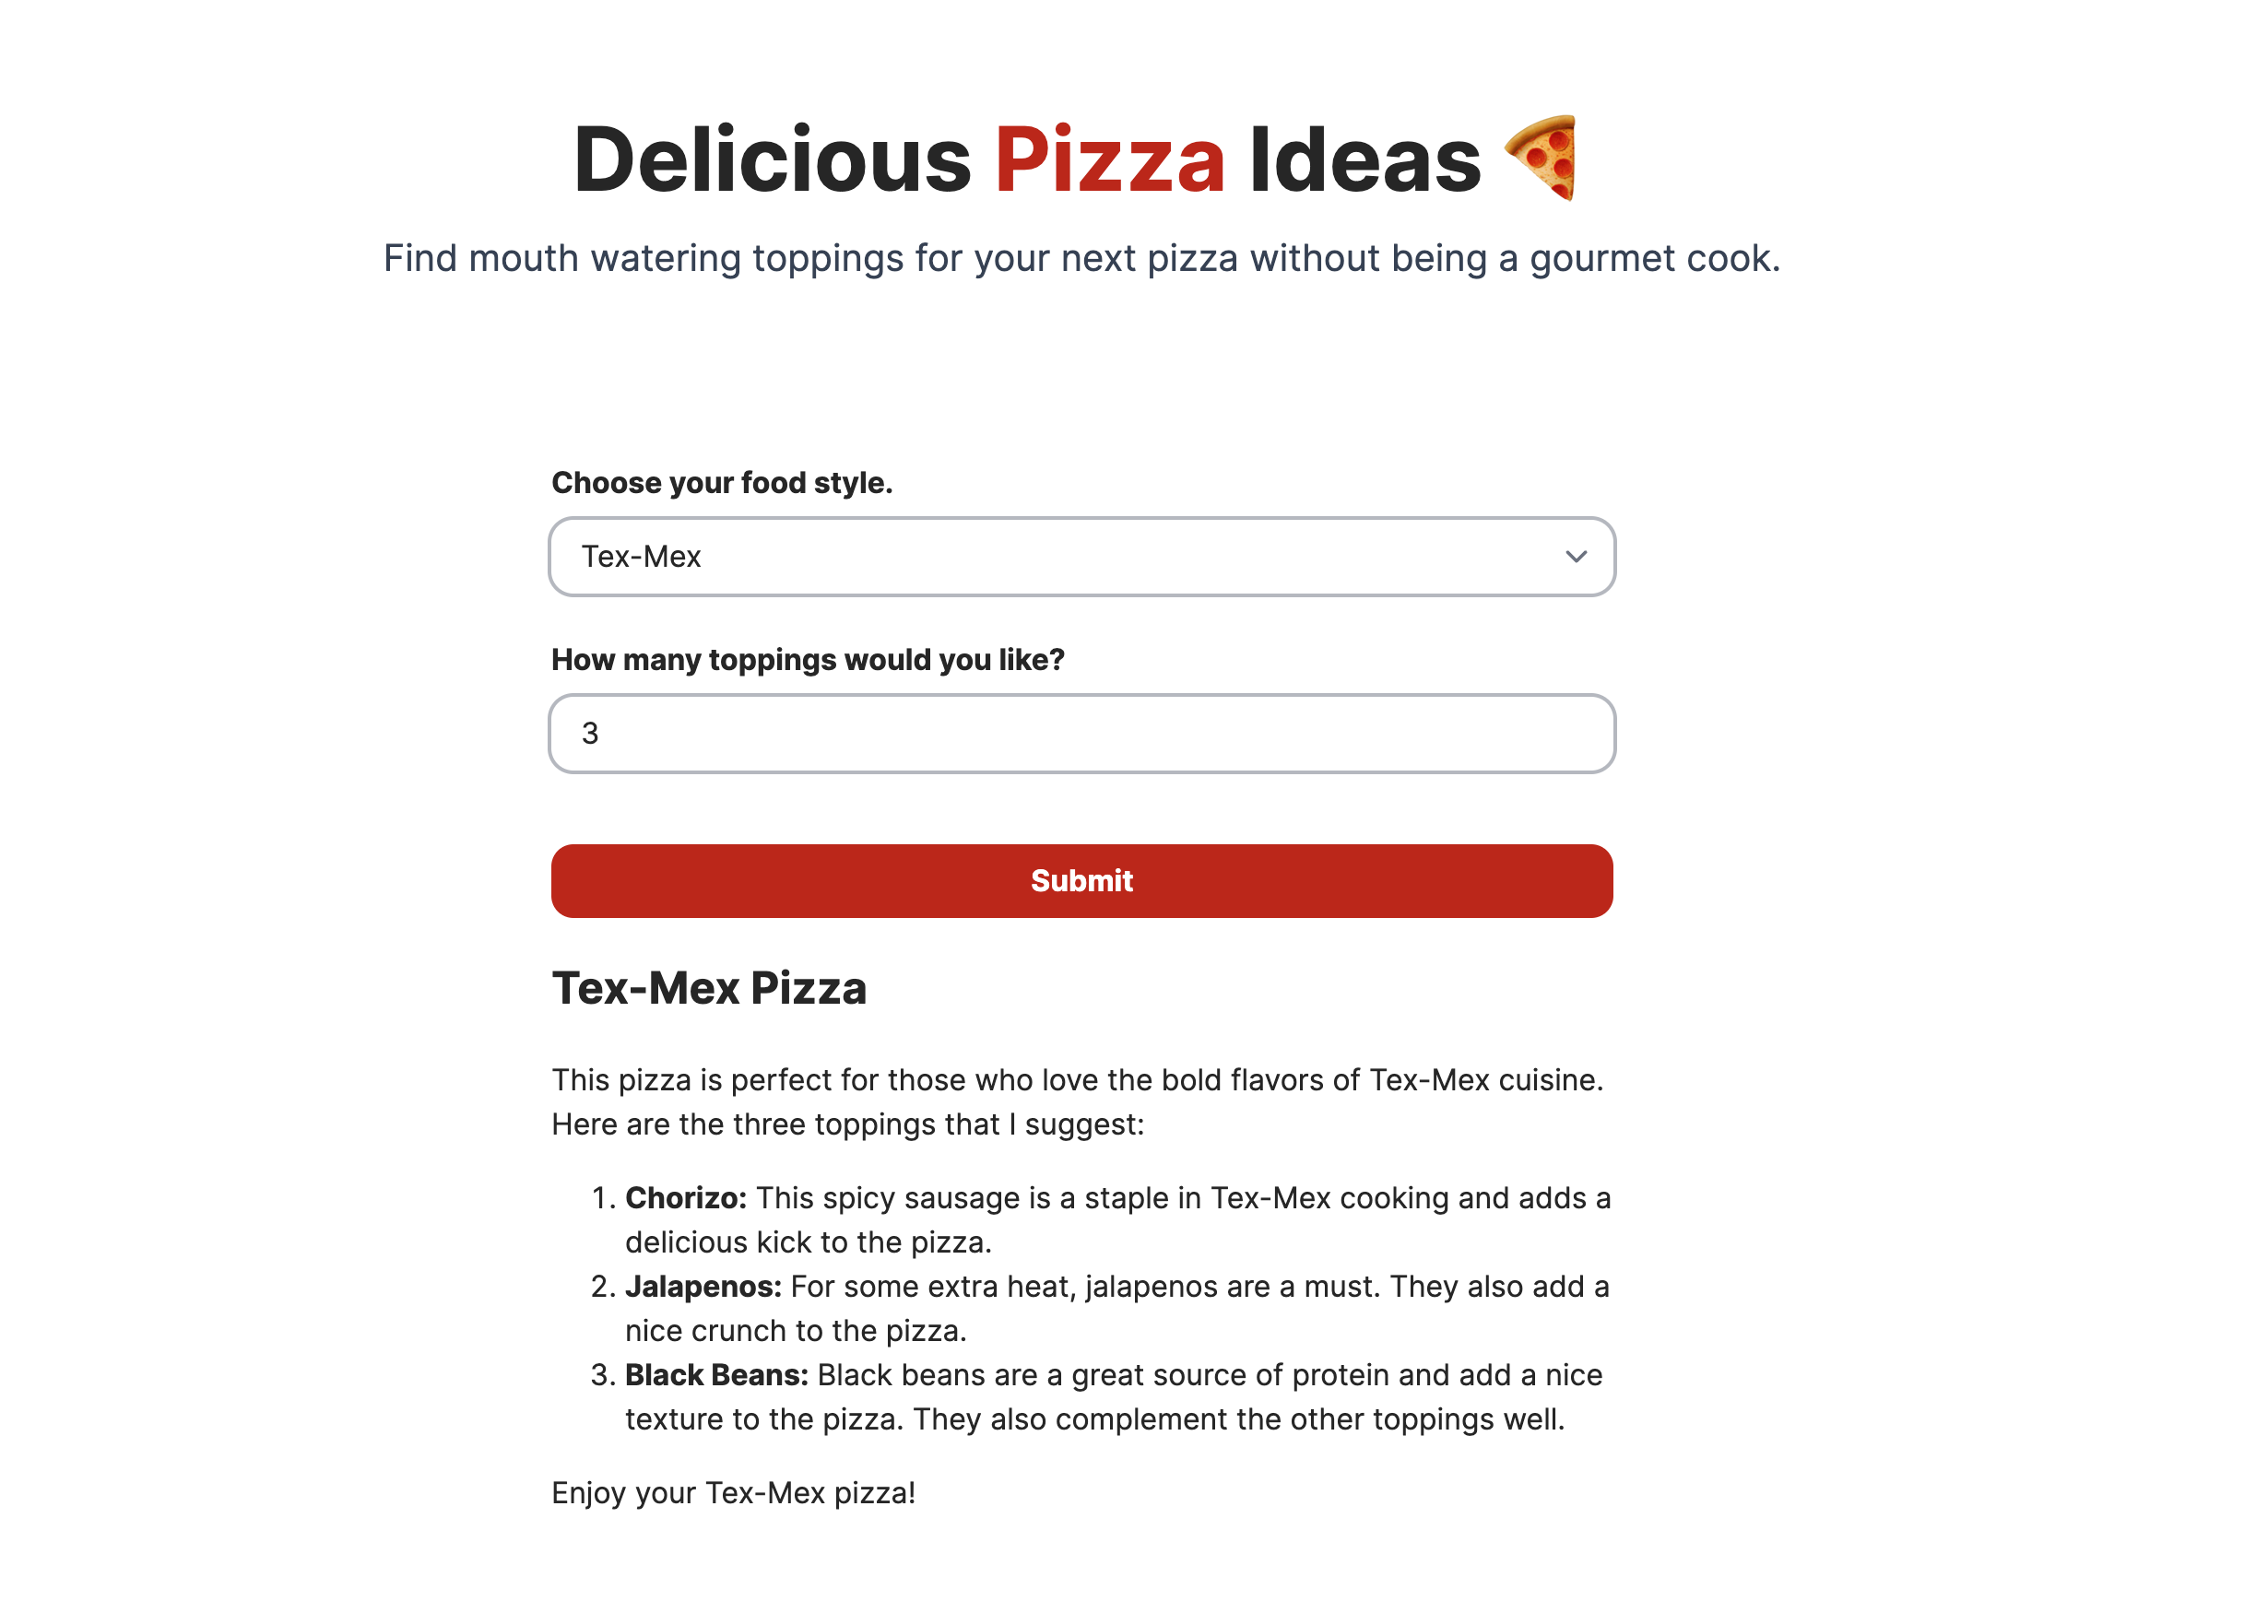
As an example, let us create a tool to suggest pizza toppings based on a particular food style. For this we want a select field with food styles to pick from and an input field for the desired number of toppings. Each input is defined using a schema with the type of component and the user facing label. Depending on the input type other fields are required, like the options for a select input.
// Food style select component
{
  component: 'select',
  label: 'Choose your food style.',
  options: [
    // ...
  ]
}

// Topping quantity input component
{
  component: 'input',
  label: 'How many toppings would you like?',
  type: 'number'
}
Defining the prompt is an art in itself and we will just use a straightforward approach here.
// role: system
`You are an innovative pizza backer.
You will suggest toppings for a pizza in a given food style and name the pizza.
You must format your response using markdown.`

// role: user
`Food style: ${myFoodStyle}
Limit the number of toppings to ${myLimit}`
That is all it takes to receive our final promptato definition:
export const Promptato = createPromptato({
  foodStyle: {
    component: 'select',
    label: 'Choose your food style.',
    options: [
      'Asian',
      'Greek',
      'Indian',
      'Italian',
      'Tex-Mex',
    ]
  },
  numberOfToppings: {
    component: 'input',
    label: 'How many toppings would you like?',
    type: 'number'
  }
}, [
  {
    role: 'system',
    content:
`You are an innovative pizza backer.
You will suggest toppings for a pizza in a given food style and name the pizza.
You must format your response using markdown.`
  },
  {
    role: 'user',
    content: (input) =>
`Food style: ${input.foodStyle}
Limit the number of toppings to ${input.numberOfToppings}`
  }
])
Using the input-prompt mapping
Now that we have defined our input-prompt mapping, we can continue with src/app/page.ts.
All we need to do is import the previously created Promptato component and use it in our page. To create a more
appealing app we can sprinkle in some layout and add some headlines
import { Promptato } from './promptato';

const Page = () => (
  <main className="flex flex-col items-center py-24 px-4" data-theme="default">
    <div className="relative flex place-items-center flex-col my-24 max-w-3xl">
      <h1 className="text-4xl sm:text-5xl text-center font-bold pb-4">
        Delicious pizza ideas 🍕
      </h1>
      <h2 className="text-lg sm:text-xl text-center text-slate-700">
        Find mouth watering toppings for your next pizza without being a gourmet cook.
      </h2>
    </div>

    <section className="w-full max-w-xl">
      <Promptato />
    </section>
  </main>
);

export default Page;
We are all set and can take our finished app for a test ride:

That is all it takes, we have created a ChatGPT-powered app we can easily share with the prompt lazy folks out there.